
 English
 Español
 Français
 Português
 BTC
 ETH
 LTC
 BCH
 USDT
 DOGE
 DASH
 USDC
 XRP
 XMR
 TRX
 BNB
 SHIB
 SOL
 DAI
 ZEC
 ETC
 POL
 ADA
 XLM
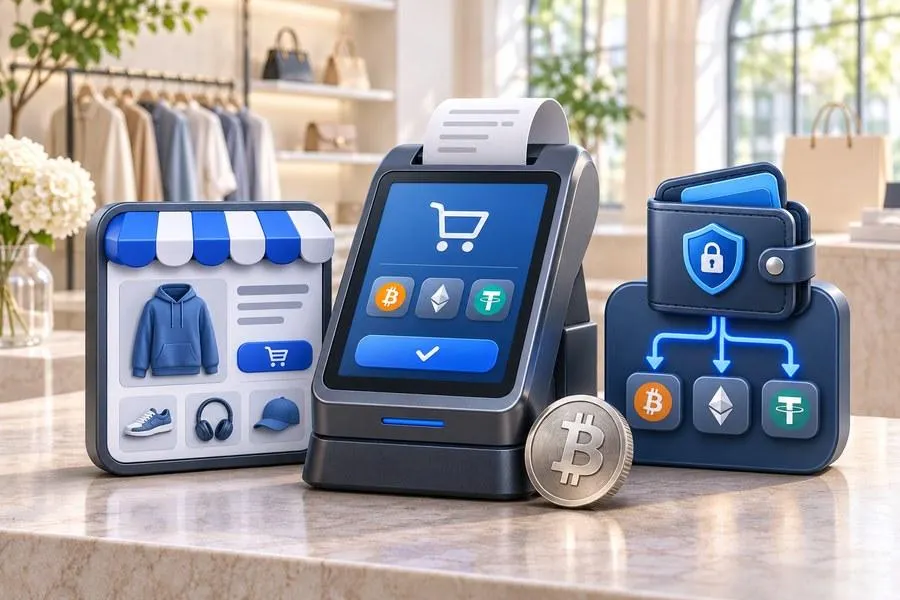
WooCommerce makes it easy to add a new payment method, and the plugin directory offers several crypto options. Installing one takes minutes. Choosing the right one deserves more care, because the gateway decides where your money lands, how orders update and how much manual work your team will do. A good WooCommerce crypto payment gateway should pass the same practical checks you would apply to any supplier that handles revenue. This checklist explains what to look at before you install, and how to test the setup before customers see it.
Why WooCommerce Stores Add Crypto
The reasons are usually practical rather than ideological. Stores selling internationally lose customers whose cards are declined on cross-border purchases. Digital goods sellers suffer from chargebacks that arrive months after delivery. And some merchants simply want a payment option that settles in minutes instead of days.
Crypto addresses all three: customers can pay from anywhere with a wallet, confirmed payments cannot be charged back, and funds arrive as soon as the blockchain confirms the transaction.
How a Gateway Plugin Works Inside WooCommerce
A crypto gateway plugin adds a payment option to the WooCommerce checkout. When a customer selects it, the plugin asks the gateway to create an invoice for that specific order. The customer sees a payment address, the exact amount and a time window, usually with a QR code.
The gateway then watches the blockchain. When the payment arrives and reaches the required number of confirmations, it sends a callback to your store, and WooCommerce moves the order from "pending payment" to "processing" or "completed". Done well, nobody on your team has to look at a block explorer.
The Evaluation Checklist
Use these criteria to compare plugins before installing anything on a live store.
Criterion | What good looks like | Why it matters |
Custody | Payments settle directly to a wallet you control | No withdrawal fees, no frozen balances |
Networks and stablecoins | Bitcoin, Ethereum and stablecoins on several low-cost networks | Customers choose the cheapest route their wallet supports |
Fees | Clear service fee, no hidden conversion or withdrawal charges | Predictable cost per order |
Rate lock | Price fixed for a defined invoice window | Protects you and the customer from price swings mid-payment |
Underpayment handling | Clear rules for small shortfalls, overpayments and late payments | Fewer support tickets and stuck orders |
Order callbacks | Automatic status updates tied to order IDs | No manual matching by amount |
Plugin maintenance | Recent updates, compatibility with current WooCommerce versions | Fewer breakages after updates |
Test mode | Free test transactions or a sandbox | Safe verification before launch |
A gateway that scores well on custody and callbacks will save more time than one with a long list of supported coins.
Network Costs Your Customers Will Pay
Customers usually pay the network fee when they send a payment, so the networks you offer directly affect conversion. On 17 October 2026, approximate costs for sending USDT were:
Network | Approximate fee (17 Oct 2026) |
BNB Chain (BEP-20) | about $0.002 |
Ethereum (ERC-20) | about $0.01 |
Solana | well under $0.01, plus about $0.21 if the recipient needs a new token account |
Tron (TRC-20) | about $2.28, or about $4.50 to an address that has never held USDT |
These figures change with demand. The practical lesson is to offer more than one network and label each clearly, for example "USDT on BNB Chain (BEP-20)", so customers can avoid expensive routes and not send funds on the wrong network.
Setting Up the Plugin Step by Step
Most gateway plugins follow a similar setup process:
- Install the plugin from the WordPress plugin directory or upload it from the provider's site, then activate it.
- Create an account with the gateway and connect it to the plugin, usually with an API key.
- Add your receiving addresses for each network you plan to support. A non-custodial gateway needs only public addresses, never your recovery phrase.
- Choose the coins and networks to show at checkout, and set the invoice window.
- Map order statuses so that orders only move to "processing" after a confirmed payment.
- Run test orders on every enabled network from a separate wallet, including one deliberate underpayment, and confirm that WooCommerce reacts correctly.
Only switch the payment method on for all customers once every test behaves as expected.
Order Statuses in Practice
WooCommerce has a standard set of order statuses, and a good gateway plugin uses them consistently. A typical mapping looks like this:
Payment event | Suggested WooCommerce status |
Invoice created, waiting for payment | Pending payment |
Payment detected but not yet confirmed | On hold |
Payment confirmed on the blockchain | Processing |
Invoice expired without payment | Cancelled |
Payment received but below the invoice amount | On hold, with a note for staff |
Check how the plugin handles each event before launch, because the order status decides when stock is reduced and when confirmation emails go out to customers.
Underpayments, Overpayments and Late Payments
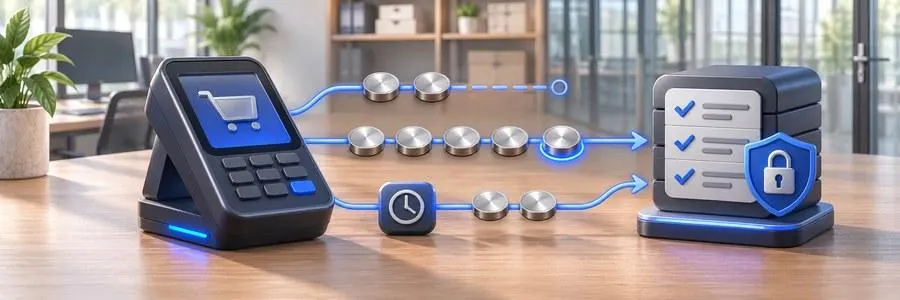
Edge cases cause most of the support work in crypto payments, so decide the rules before customers find them for you:
- Underpayments. Customers sometimes send slightly less because their wallet or exchange deducts a fee. Many merchants accept small shortfalls within a set tolerance and ask for the difference above it.
- Overpayments. Decide whether to refund the excess in the same coin or offer store credit.
- Late payments. If a payment arrives after the invoice expires, the price may have moved. Good gateways flag these so you can accept the payment at the original price or refund it.
Running Crypto Payments Day to Day
After launch, a few routines keep things smooth:
- Check order statuses against wallet activity once a week during the first month.
- Keep records of transaction hashes, order IDs and the fiat value at payment time for accounting.
- Write a refund policy for crypto orders, including which address and which currency are used for refunds.
- Secure the wallet, with the recovery phrase stored offline and access limited to the people who need it.
- Update the plugin promptly, and retest after major WooCommerce updates.
Getting Discovered as a Crypto-Friendly Store
Once crypto checkout is live, tell people. Customers who hold crypto actively look for places to spend it. Add the accepted coins to your product pages and footer, mention the option in order confirmation emails, and list your store in directories of merchants that accept cryptocurrency. Those listings bring visitors who already intend to pay with crypto, and they help cautious buyers confirm that a store is genuine before they send a payment.
Frequently Asked Questions
Do I need a separate wallet for each coin?
You need a receiving address for each network you support. Many wallets manage addresses for several networks in one app.
Can a crypto plugin slow down my WooCommerce store?
A well-built plugin loads its scripts only at checkout and communicates with the gateway in the background. Test page speed before and after installation.
Can I start with stablecoins only?
Yes. Many stores begin with USDT or USDC on low-cost networks, because prices stay stable, and add Bitcoin later if customers ask for it.
The right WooCommerce gateway is the one you rarely think about: payments land in your wallet, orders update themselves and customers pay without confusion. Use the checklist, test thoroughly and only then switch it on for everyone.
